Your cart is currently empty!
What a load of rot (or how to make backyard compost!)
Several times a year I make compost. It gives me loads of rich organic material for my garden, takes care of all the food scraps and weeds, and gives me a really good workout for a few hours. I’ve just made my Autumn compost batch, which is always the best one and doesn’t make me nearly as sweaty as the Spring and Summer batches.
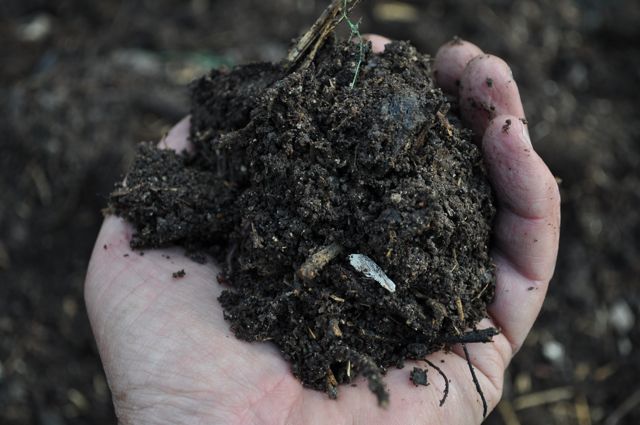
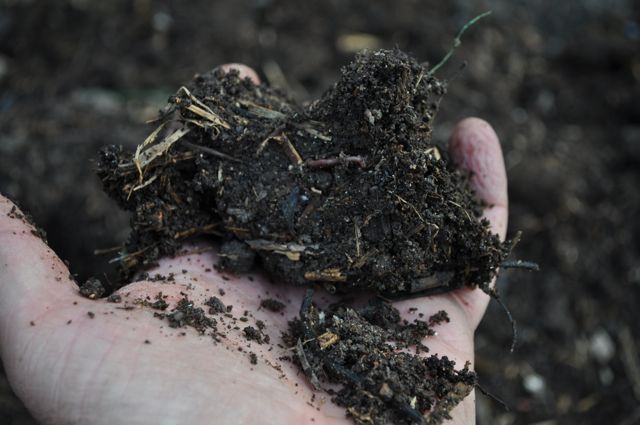
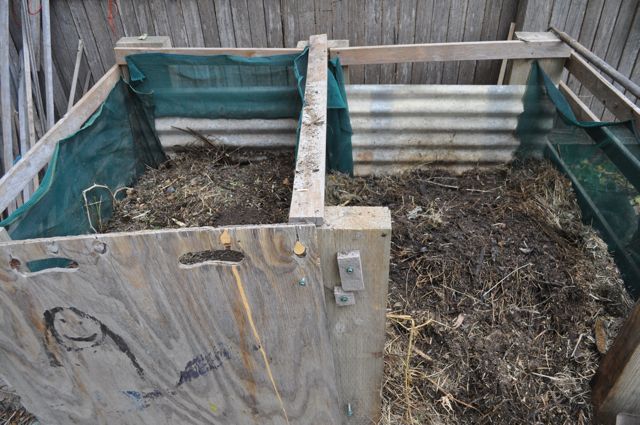
This is the finished product. Its a soft, black material that is mostly organic. The picture on the right shows how you can squish it up into a ball. The reasons compost is so good for your garden are that it adds lots of air to the soil, acts like a sponge to soak up and hold water, and finally adds lots of nutrients. My three batches that I make give me about 2 cubic metres of compost each year – worth about $2000 if I bought it in bags at the local nursery. The picture below shows my three bin compost system. There are lots of ways to make compost; some a lot more scientific than my method. This method works well for me, living on an average size house block.

You can see the last bits of the last batch in the bin on the left before I shovel it out onto the vegie garden. The black bin on the right is where we tip all the food scraps from the kitchen. We don’t put meat in there (it attracts rats) but pretty much everything else goes in. After a while it ends up being a big slimy mess in the bottom and when you open the lid a swarm of ferment flies comes out, but don’t let that put you off! Lots of people only have this sort of bin and after a while are left wondering what to do with the big slimy mess!
The bin in the middle is where I store dry or bulk material through the summer. This is where I tip out the lawn clippings, throw the weeds and prunings from the garden, store the bag of shredded office paper I managed to get from a friend and so on. It all forms a big pile and sort of breaks down a bit but not enough to put on the garden.
The bin on the left is where all the action happens – where the compost is built to a secret formula that I will reveal to you now. I made the two bins on the left out of scrap timber and galvanised iron, but old pallets would be a perfectly good substitute. I line the sides with shade cloth to stop stuff falling out and to keep the air flowing. The two front panels are made of plywood and are removable. The two bays on the left hold about one cubic metre each.
Here is the science behind turning weeds and food scraps into this rich organic material. A good compost heap is made of mostly organic material and has a ratio of carbon to nitrogen around 30:1. It needs air and water to work. Bacteria, fungi, worms, insects and other bugs are the workforce that makes it happen. This is an aerobic system (made in the presence of air) so aerobic bacteria are the ones doing a lot of the work. Don’t worry too much about measuring carbon or nitrogen content, just make a good guess. You will not be short on carbon as everything that once lived is mostly made of carbon. Dry leaves, paper, wood shavings and sawdust are very high in carbon and low in nitrogen. Fresh green plant material, food scraps and animal manures are relatively high in nitrogen. Air is the most important thing in this method – note the slat sides on the bins to get good air flow. Enough theory – lets get down to business.
I make a batch of compost after Mothers Day for two reasons:
- Its just after I have pulled up the remains of the summer crops (tomatoes, corn, pumpkin vines etc) after the early frosts, and
- I can get lots of sheep manure at the Armidale City Public School Mothers Day fete!
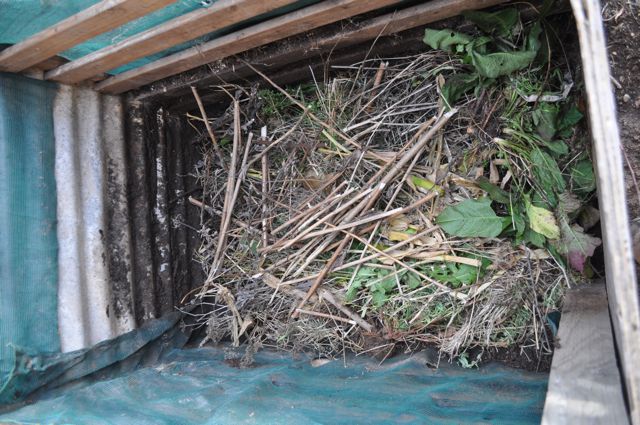
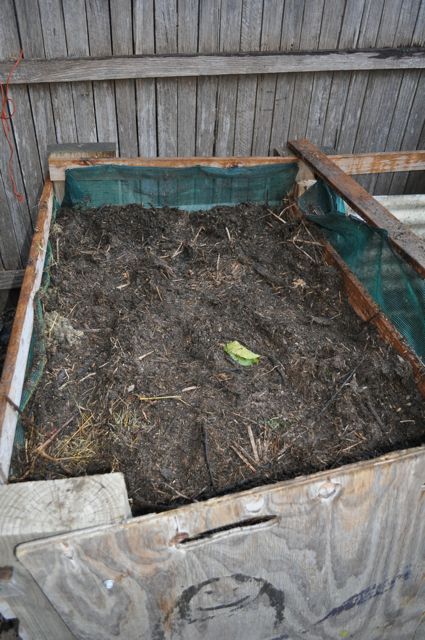
After I have cleaned out the last of the last batch in Bay 3, I add a layer of coarse material such as sticks, corn stalks, prunings and any sticky bits from the last batch. This allows for some air flow at the very bottom of the heap and means the coarse material is likely to break down.

Then I add a bag of sheep poo, bought from the fete for $4 for 20L. This has lots of nitrogen and helps to break down the coarse stuff which is mostly carbon. I prefer sheep manure to all others as it is rich in nitrogen, easy to handle and gets in amongst the dry and coarse material easily. Ours comes from the massive amount accumulated under an ancient shearing shed near Uralla, so is mature.
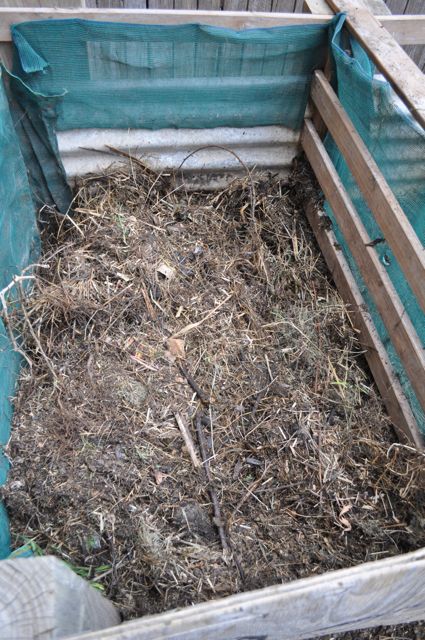
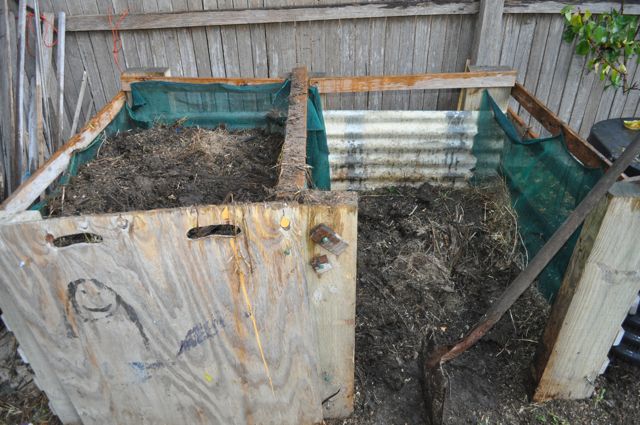
Next I add a layer of weeds, old grass clippings and anything else that’s been accumulating in the middle bin. It is usually dry and may have started to break down a bit. I use a garden fork for this as it is impossible to shovel. Even though I am only lifting it from one bin to the next, its hard work, but better than paying to go to a gym. At this stage I usually jump into the bin and stomp it down with my gumboots.
You can see how the pile on the right is starting to get smaller while the bin on the left fills up.
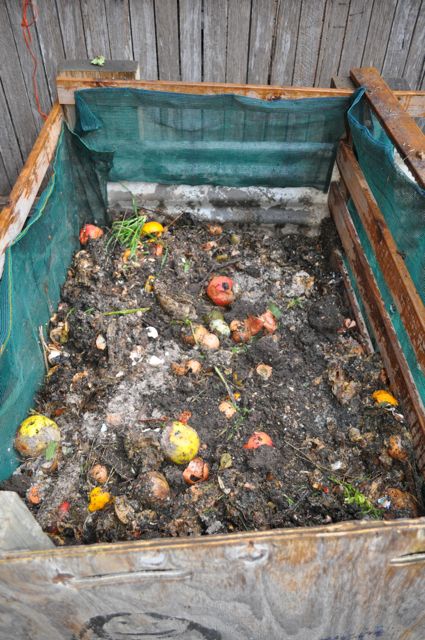
This is the truly disgusting bit. At this point I lift the lid off the first bin and let all the ferment flies escape. Then I pull up the sides of the bin, exposing the big slimy pile it contains. It is a very good idea to tie the dog up at this point or he will be rolling in this stuff within minutes. Use a long-handled shovel to move this muck into Bay 3 and spread it out in a layer. I use the whole lot in one layer – 3-4 months worth of food scraps forms a layer about 150mm high in my bin. This can be heavy work, but very satisfying. Once you have scraped up everything, give the plastic bin a hose out and put it back in place.
Now I add my secret ingredient – Comfrey. Comfrey (Symphytum officinale) is a perennial herb that forms a large clump. It has lots of medicinal uses, but I mainly grow it to feed the compost heap. I read this tip in a book once and have found it to be very good. I don’t know how it works, but I am convinced it does so I keep doing it. I think it might have something to do with the mucilage in the leaves.

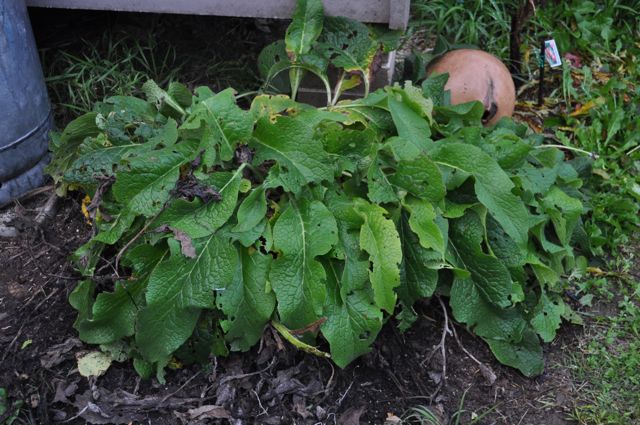
Comfrey leaves are about 300mm long, so I grab big armfuls and spread a layer of them thickly into the developing pile. Its a good time to use them as the frost will knock the plant back to ground level very soon.
Now I keep alternating between layers of weeds and other dry material from Bay 2, and layers of sheep manure. Each manure layer is another 20L bag – I will use 4 in this heap. After adding the last of the dry stuff and a layer of manure, I jump in and stomp it down a bit.


Just before the bin fills up I add a fine layer of wood ash from our slow-combustion heater. This adds a little bit of potassium to the mix. Don’t use too much as it is very alkaline and will affect the soil in your garden. I once made a batch of compost that was about 10% wood ash. The spot where I put this on the garden became very alkaline, dried out quickly and had poor soil structure – it took me a long time to fix it. I add a final layer of sheep manure on top. You can use any sort of manure that you have on hand. Chook manure is good in a compost bin as it is very high in Nitrogen. Horse manure often has straw or sawdust mixed with it, which adds to the bulk. This type of compost gets very hot, which kills a lot of weed seeds – but not all of them, so be careful where you source manure. Cow manure comes in big dry pats which can be broken up with a shovel before adding.
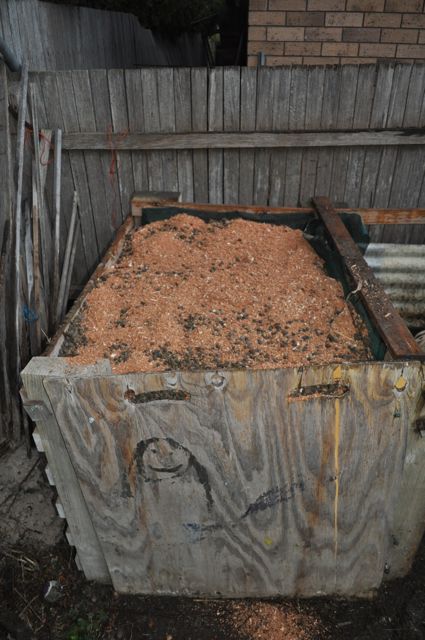
Finally I add a cap of sawdust just to keep the moisture in. In previous batches I have put a thick layer of straw on top. It acts as a mulch and also helps keep the heat in.
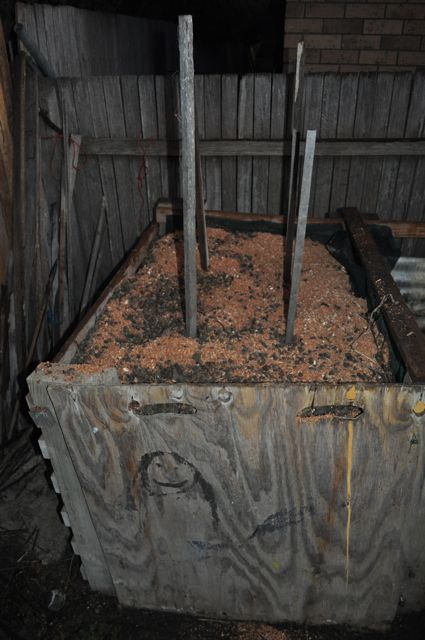
I drive some tomato stakes into the heap and wriggle them around to create some holes in the top. This lets air and water get right into the heap.
At this point I start to water the heap. You can water as you go, but I wait until the end. Give it a really good drenching. I stood there for 20 minutes with a spray nozzle on the hose before water started to leak out the bottom. Its like a giant sponge at this stage and will absorb a lot of water.
Water is the switch that turns the whole system on.From this point the microbes start work. Within 1 day the heap was noticeably hot to touch as the chemical processes started to work. Two weeks later it is still warm and will steam a bit if you pull back the top. After two weeks the top of the heap has dropped by at least 350mm.
I never turn my compost. It takes a huge effort to do this and 3 workouts a year are enough for me. As a result I get a few dry patches in the corner, but they just get recycled into the next batch.
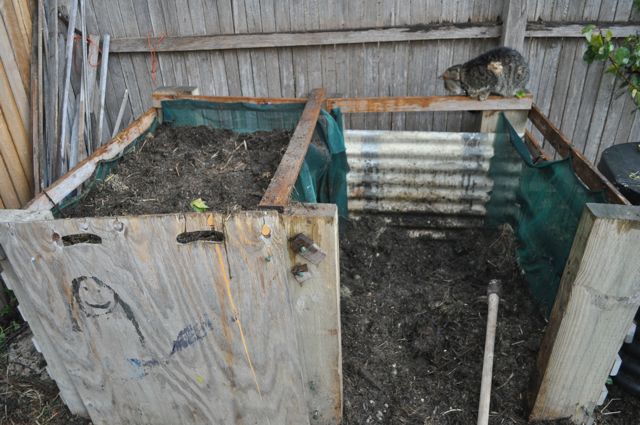
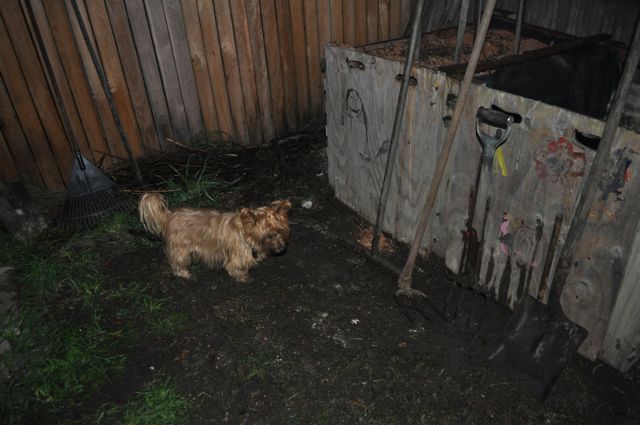
There are a number of useful tools for making compost. The first one is a cat, which helps by catching any mice that have made a home in Bay number 2.
An Aussie Terrier or similar small dog is also useful to catch any mice the cat can’t eat and to dig around in the heap and show you where to put your shovel. My other tools for this job include: a nail-tooth rake; a wide, flat shovel with a long handle; a garden fork; and a three-pronged rake-hoe.
This whole operation took me about two hours and cost $16 for 4 bags of manure. By late September, when I am preparing the garden for spring planting, I will have about three-quarters of a cubic metre of rich organic compost for top dressing and planting.
Leave a Reply
You must be logged in to post a comment.